The Matuka is a streamer pattern that hails from New Zealand. The unique method of attaching the wing to the body prevents the wing from becoming fouled on the hook point and makes for a very fishy silhouette.
I prefer hen feathers, (saddles or capes, depending on the fly size) for the wing on this pattern as their natural webbiness allows the wing to meld together across the tinsel rib. Rooster feathers will work also but result in a much more transparent wing that spreads across the top of the body and loses some of the profile. You can add a cone or bead to this pattern or simply tie it as it is presented here. The overall shape of the fly is reminiscent of a variety of common baitfish and matches sculpins particularly well.
Materials Needed:
Hook: TMC 5262 or 5263 #2-12
Weight: Lead wire, sized to hook (shank diameter)
Thread: Black 70-denier or 6/0
Rib: Gold Oval Tinsel, small or medium
Body: Dark Olive Medium Chenille
Wing: Four matched feathers from a grizzly dyed olive hen neck or saddle.
Collar: Hen Neck or Saddle Feathers, grizzly dyed olive
Step 1
Wrap eight to fifteen wraps of lead wire around the hook shank. Be sure to leave about one-fourth of the shank bare in front of the lead wraps.

Step 2
Start the thread and build a taper up onto the lead from the back. Cover the lead with a thread base then taper the thread back down onto the bare shank in front of the lead wraps. Return the thread to the bend of the hook building a thread base on the hook as you go.

Step 3
Tie in a six to eight-inch length of oval tinsel at the back of the hook. Wrap over the tinsel to just in front of the bend, leaving a bit of the thread base behind the tinsel.

Step 4
Strip the end of a six-inch length of chenille to expose the thread core.

Step 5
Tie the chenille (sha-neal) in by the stripped core just in front of the base of the tinsel. Wrap back over the chenille core to the very front side of the rib. Return the thread to the front end of the lead wraps.

Step 6
Make the first wrap of chenille behind the tinsel rib…

Step 7
…then continue wrapping the chenille forward to the front of the lead wraps. Tie off the chenille about three hook-eye lengths back from the eye and clip the excess.

Step 8
Select four nicely matched (even barring, size and shape) hen feathers. You want feathers with a lot of web to meld together after the wing is formed.

Step 9
Match the tips of all four feathers for length and clip the butt ends so they are all the same.

Step 10
Stack two feathers together with the outside of one touching the inside of the other. Do the same with the other two feathers then lay the first pair on top of the second pair with the insides touching. That is, the pairs of feathers are now cupped together. Strip a few fibers from the butt ends exposing the quill for a couple of eye lengths.

Step 11
Measure the wing set against the hook so the stripped butt ends are at the front edge of the chenille body and the tips extend past the bend of the hook about half a shank length.

Step 12
Strip the fibers from the bottom side of all four feathers where they will contact the top of the chenille body. Do this to all four feathers at the same time so they remain evenly stripped and matched.
Step 13
Tie the feathers in at the front edge of the body by the stripped portion of the quill. Take care to keep the feathers aligned as you tie them in and dont let them twist.

Step 14
Notice the length of the stripped portion of the feathers and how the bare quill ends at the back edge of the body leaving the feather tips to form the tail of the fly.

Step 15
Pull the feathers down along the top of the body. Grasp the tips of the feathers in your material hand and pull them toward the rear.

Step 16
Separate the wing fibers directly above the point on the barb, exposing the quill.

Step 17
Make a turn over the separation point in the feathers with the tinsel ribbing. Try to make the wrap as vertical as possible on the sides of the fly with the forward travel on the bottom only.

Step 18
Continue separating the fibers and wrapping the ribbing through the spaces all the way up to the front of the wing in evenly spaced intervals. Tie off the tinsel ribbing at the front of the chenille body.

Step 19
Prepare two more hen feathers by stripping their bases. Again, you want wide, webby feathers for the collar. Lay the feathers one on top of the other with the inside of the top feather next to the outside of the bottom feather. Tie the feathers in with the inside of the feathers toward the hook at the front edge of the chenille body.

Step 20
Pull the feathers up and fold the hackle back along the quill so it all lies back toward the bend.

Step 21
Wrap the two feathers forward at the same time forming a bushy collar. Tie off the hackle feathers and clip the tips.

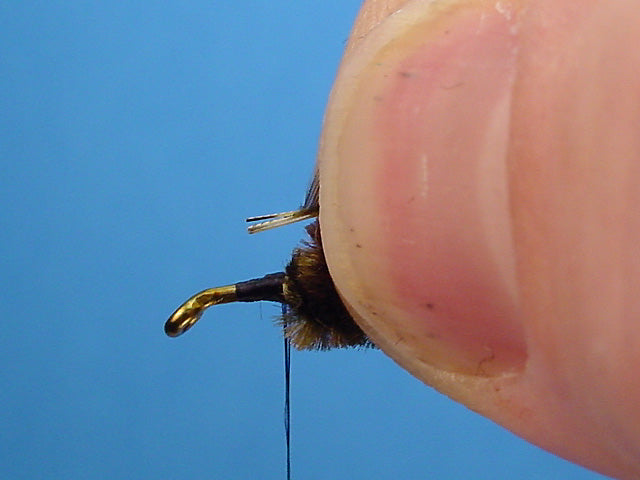
Step 22
Build a small, smooth thread head and whip finish behind the eye. Add a coat of head cement to the thread head.
