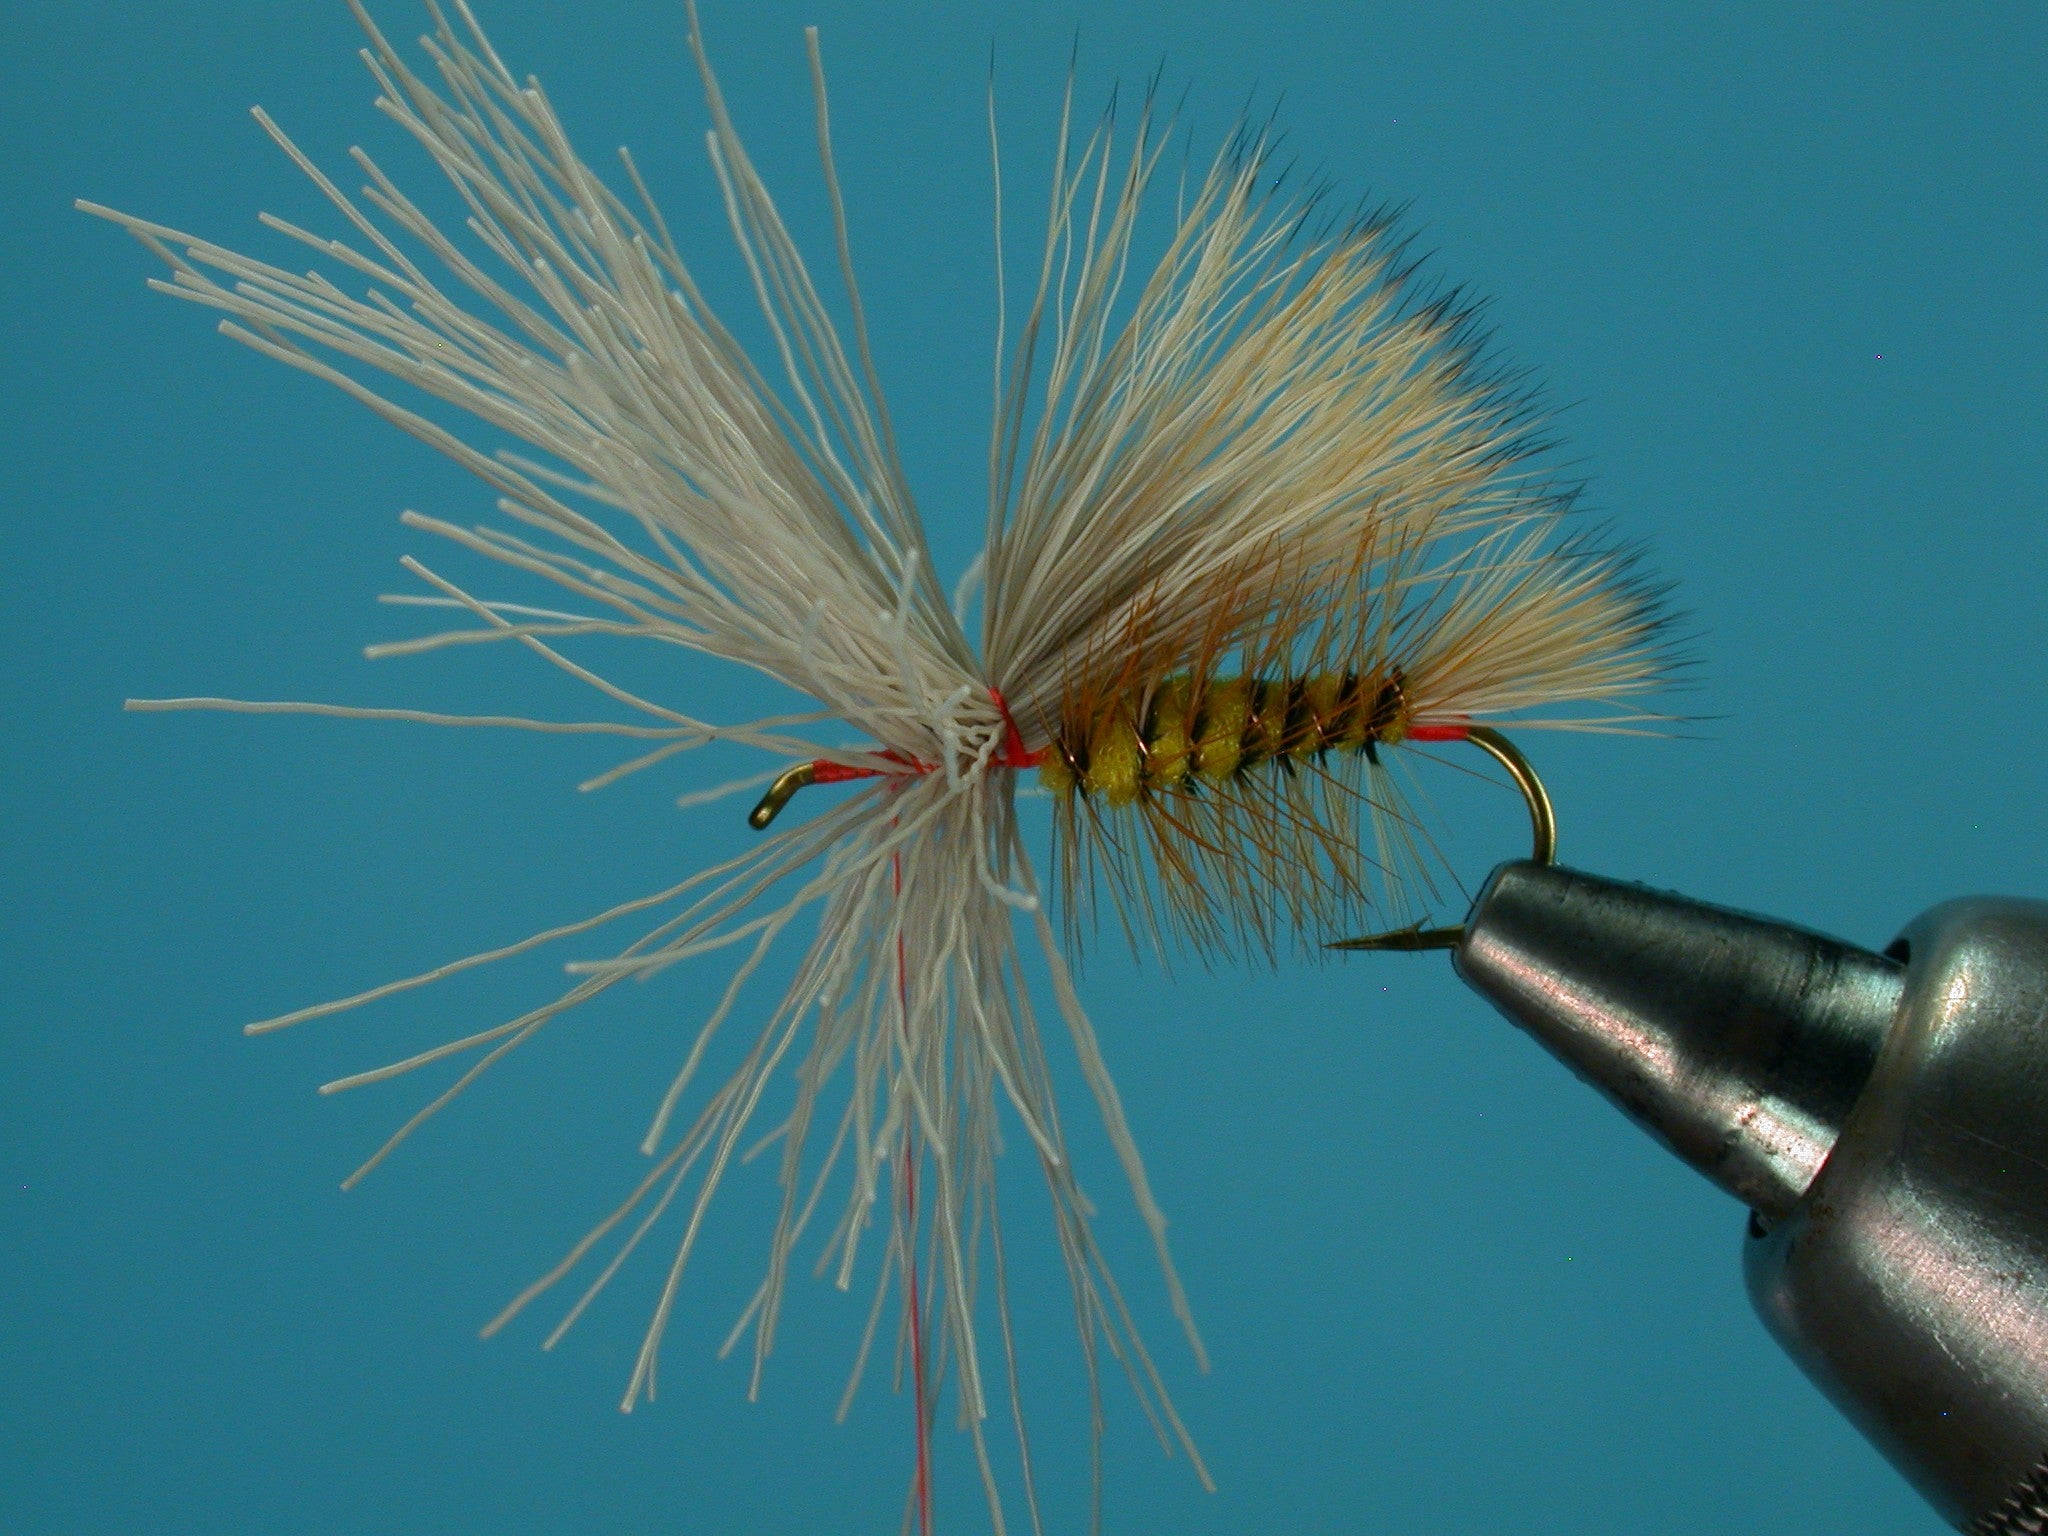
I finally got a chance to sit down today and knock out a quick tutorial for the rubber legged Stimulator. I have received several requests for a step by step on this fly and it seems the addition of the legs makes this fly a bit tricky for most tyers. In reality, adding the legs is a simple maneuver and adds both some wiggle and some surface area to an already productive fly. Here is is: Now give it a try.
Materials Needed:
Hook: TMC 5212 #6-14
Thread: 70 Denier Flo. Fire Orange
Butt: Tying Thread
Tail: Yearling Elk
Rib: Fine Copper Wire
Abdomen: Yellow Antron Dubbing
Body Hackle: Brown Rooster Neck or Saddle
Wing: Yearling Elk
Thorax Hackle: Grizzly Rooster Neck or Saddle
Legs: Medium Orange Round Rubber
Thorax: Flo. Fire Orange Antron Dubbing
Step 1
Start the thread at about the mid point on the shank and wrap a smooth thread base back to the bend. Right above the barb, build a small nub of thread. This nub will add a bit of a hot spot to the back of the fly and help to spread the tail for more support at the bend.

Step 2
Bring the thread to the immediate front edge of the nub in preparation for adding the tail.

Step 3
Cut, clean and stack a small clump of yearling elk hair and measure the tips against the gap of the hook. This clump will become the tail.

Step 4
Lay the hair in on top of the hook with the tips extending one gap width beyond the bend of the hook. Place two loose wraps around the hair but do not tighten them down.

Step 5
Hold the tips of the tail firmly atop the hook and draw the bobbin toward you on the near side of the hook to tighten the thread wraps down around the hair. Do not let go of the hair tips at any point. We want to hold them in place while we tighten the thread so they don’t roll and so the thread will compress the hair firmly in place.

Step 6
While still holding the tips of the tail hair, make a narrow band of thread right in front of the thread nub over the butt ends of the elk hair to further lock the hair in place. Once the hair is completely compressed you can let go of the tail.

Step 7
Lift the butt ends of the tail hair up above the hook and work the thread forward over the hook shank to the mid-point once again.

Step 8
Lay the hair back down along the hook so it encompasses the shank and tie it down at the mid-point with a couple firm wraps of thread.

Step 9
Clip the remaining butt ends of the hair flush.

Step 10
Spiral wrap the thread back to the base of the tail. Once at the base of the tail, grasp the tail and lift it up slightly away from the shank while you continue to wrap right up to the nub. These thread wraps will force the tail into the nub, spreading the fibers and creating more surface area.

Step 11
The tail should be slightly elevated and spread as shown here.

Step 12
Tie in a length of fine copper wire at the base of the tail with a couple tight turns of thread. The stub end of the wire should extend forward to the end of the elk hair underbody.

Step 13
Wrap the thread forward over the stub end of the wire with tight even turns to the front.

Step 14
Dub the abdomen from the base of the tail up to the end of the underbody forming a slight taper as you go.

Step 15
Wrap a thread base from the front of the abdomen up to the hook eye and back again. We want to make sure there is a thread base for the hackle tie in coming next.

Step 16
Tie in a brown hackle feather by its stripped butt end at the front edge of the abdomen. Make sure the feather is tied with its inside facing the body of the fly so it will wrap with the concave side facing back toward the tail.

Step 17
Palmer the brown feather back over the abdomen to the base of the tail. Pick up the wire at the bend and make a wrap around the hackle feather and body at the bend of the hook to hold the feather in place.

Step 18
Spiral wrap the wire forward through the hackle over the abdomen to the front of the fly and tie it off.

Step 19
Clip the stub end of the hackle feather from the bend of the hook and snap off the wire at the front.

Step 20
Cut, clean and stack another slightly larger clump of yearling elk hair. Measure this clump against the fly so the tips extend to somewhere between the base of the tail or the end of the tail…anywhere in this area is acceptable.

Step 21
Transfer the hair to your material hand and lay it on top of the hook shank. Make two loose wraps of thread over the hair at the front of the abdomen.

Step 22
Draw the bobbin toward you to tighten the thread wraps down as much as you can. You probably won’t compress all the hair with just these two turns, but we want to compress it as much as we can here. The butt ends will flare out when you firmly tighten the thread, but that’s all part of our plan, so don’t be scared.

Step 23
Work the thread forward through the butt ends of the hair in small increments making very tight turns. Walking the thread tightly through the butt ends allows us to capture the hairs in smaller bunches and anchor them down tightly with less thread wraps.

Step 24
Work the thread all the way through the butt ends to the front, being careful not to get too close to the hook eye.
Step 25
Clip the butt ends of the hair as close to the shank as you can. Be careful not to cut the thread, although if you do, it’s really no big deal. Just continue your trimming and re-attach the thread when you are done.

Step 26
Wrap the thread back over the butt ends to smooth them off a bit and back up to the base of the wing. Hold the wing on top of the hook with your material hand and make a few more tight wraps of thread against its base to gather the wing tight to the front of the abdomen.

Step 27
Tie a grizzly hackle feather in by its stripped butt end at the base of the wing.

Step 28
Tie in a single strand of rubber leg along the near side of the hook with several tight turns of stacked thread. We just want the leg anchored with these wraps for right now.

Step 29
Pull the front of the leg forward and jump the thread forward a bit to capture the leg again a bit closer tot he eye. Make several tight anchor wraps here to lock the leg in place. We want a bit of space between the front and back of the leg along the shank.

Step 30
Repeat the above steps on the other side of the fly for the second leg. Try to get the damn photo in focus too while you’re at it.

Step 31
Begin dubbing the thorax between the front and back legs up to the base of the wing.

Step 32
Pull the front legs back along the sides of the fly and continue dubbing the thorax up to the hook eye.

Step 33
Finish a nicely shaped, slightly tapered thorax with the thread hanging at the back of the hook eye.

Step 34
The legs and thorax ought to look a bit like this now.

Step 35
Palmer the grizzly hackle forward through the thorax to the eye and tie it off. I wrap the feather up to the set of legs and then just continue forward in front of them. There should be very little manipulation of the legs needed. Clip the excess feather tip, build a smoo

Step 36
Clip the back legs about even with the end of the tail and make the front legs about half that length.

Step 37
Bottom View

Step 38
You can marker up the legs a bit too if you like.
